Wednesday, December 29, 2021

Fun with the Stampin’ Up! Tulip Fields Bundle


 Hi there!


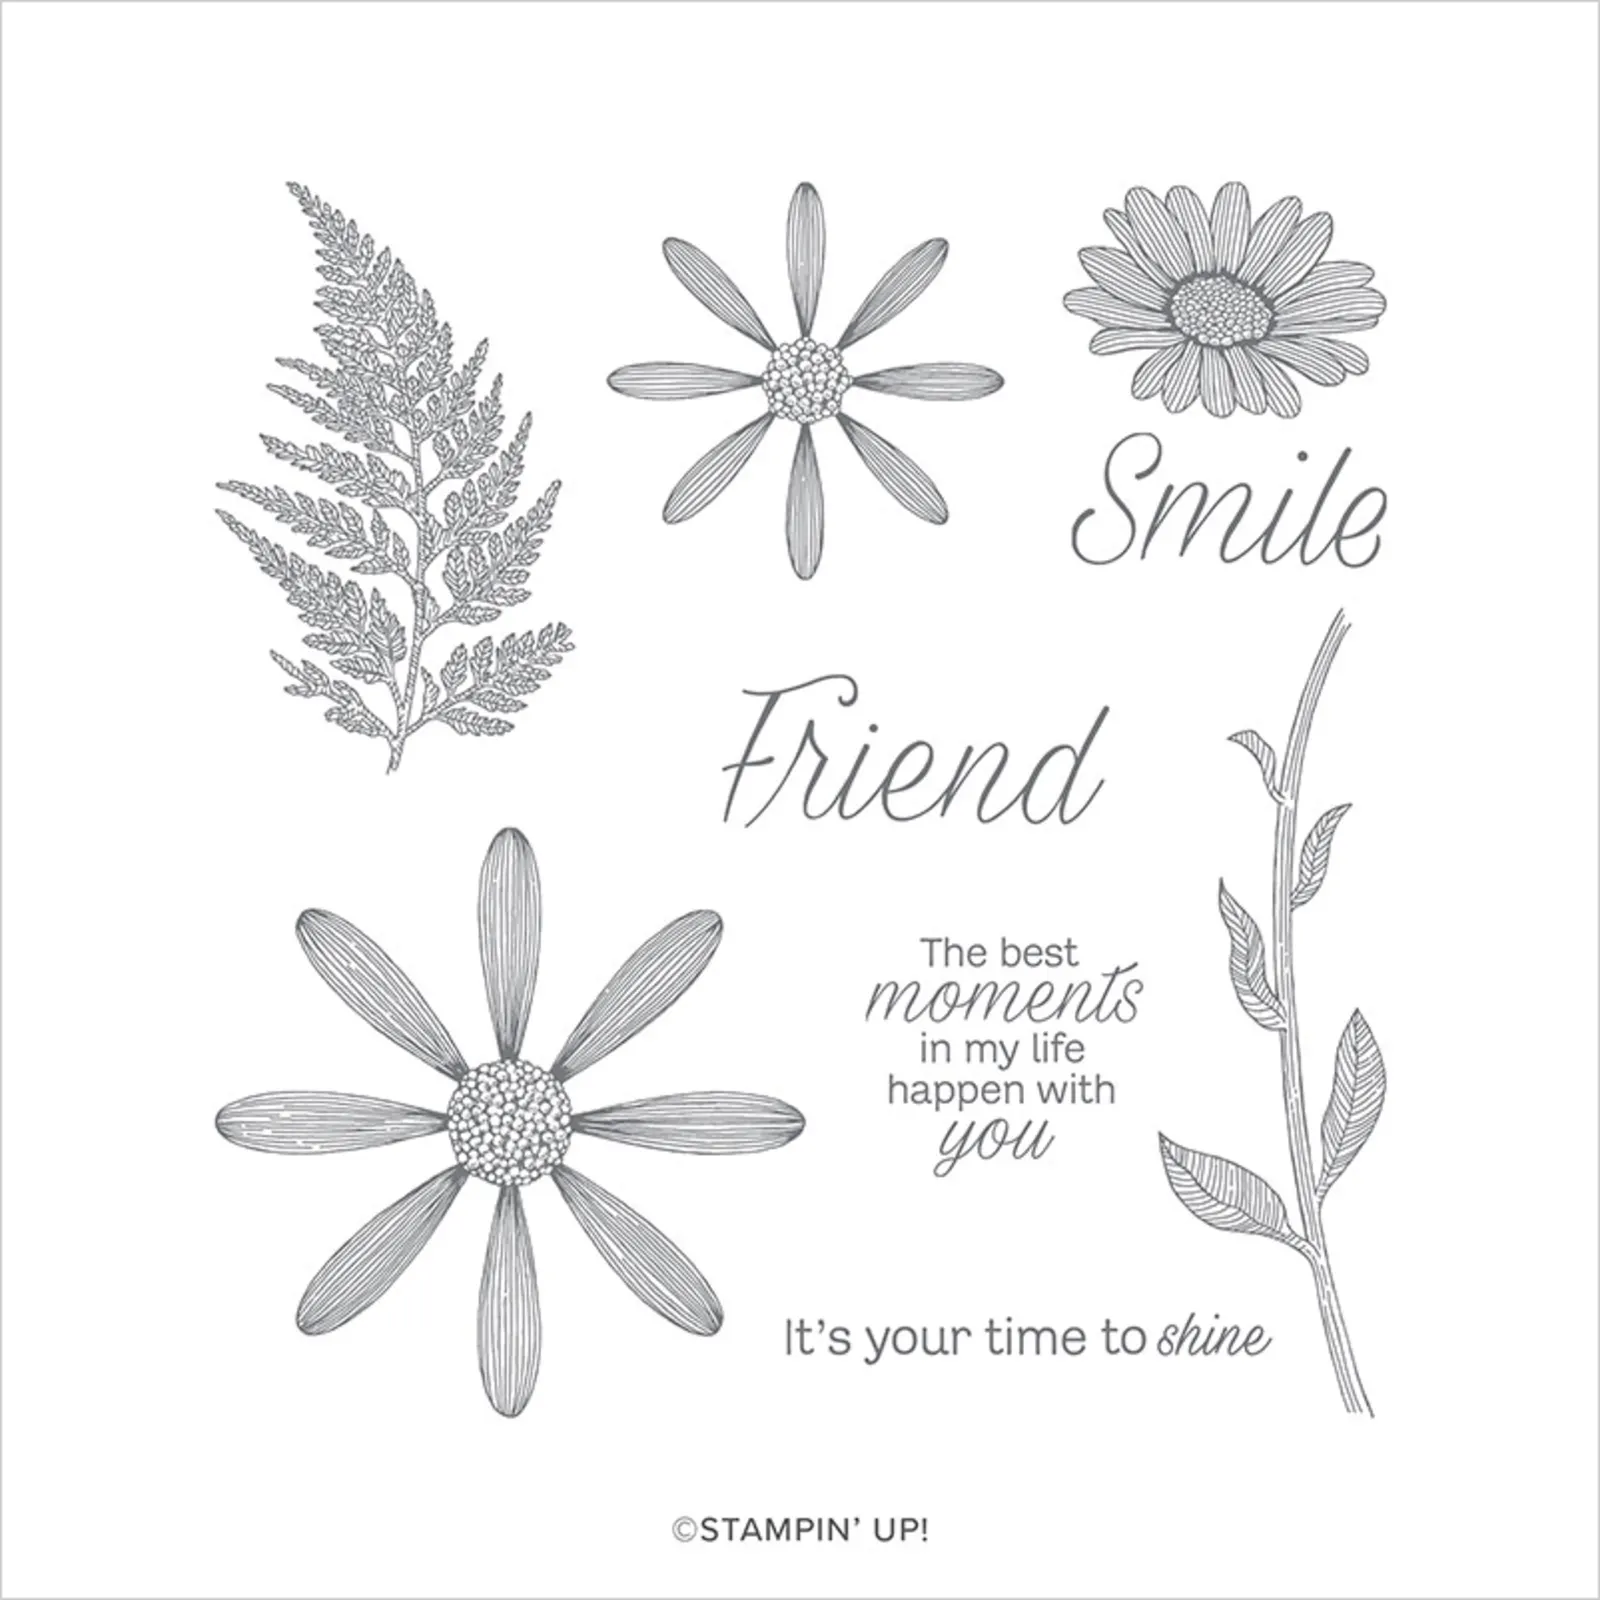
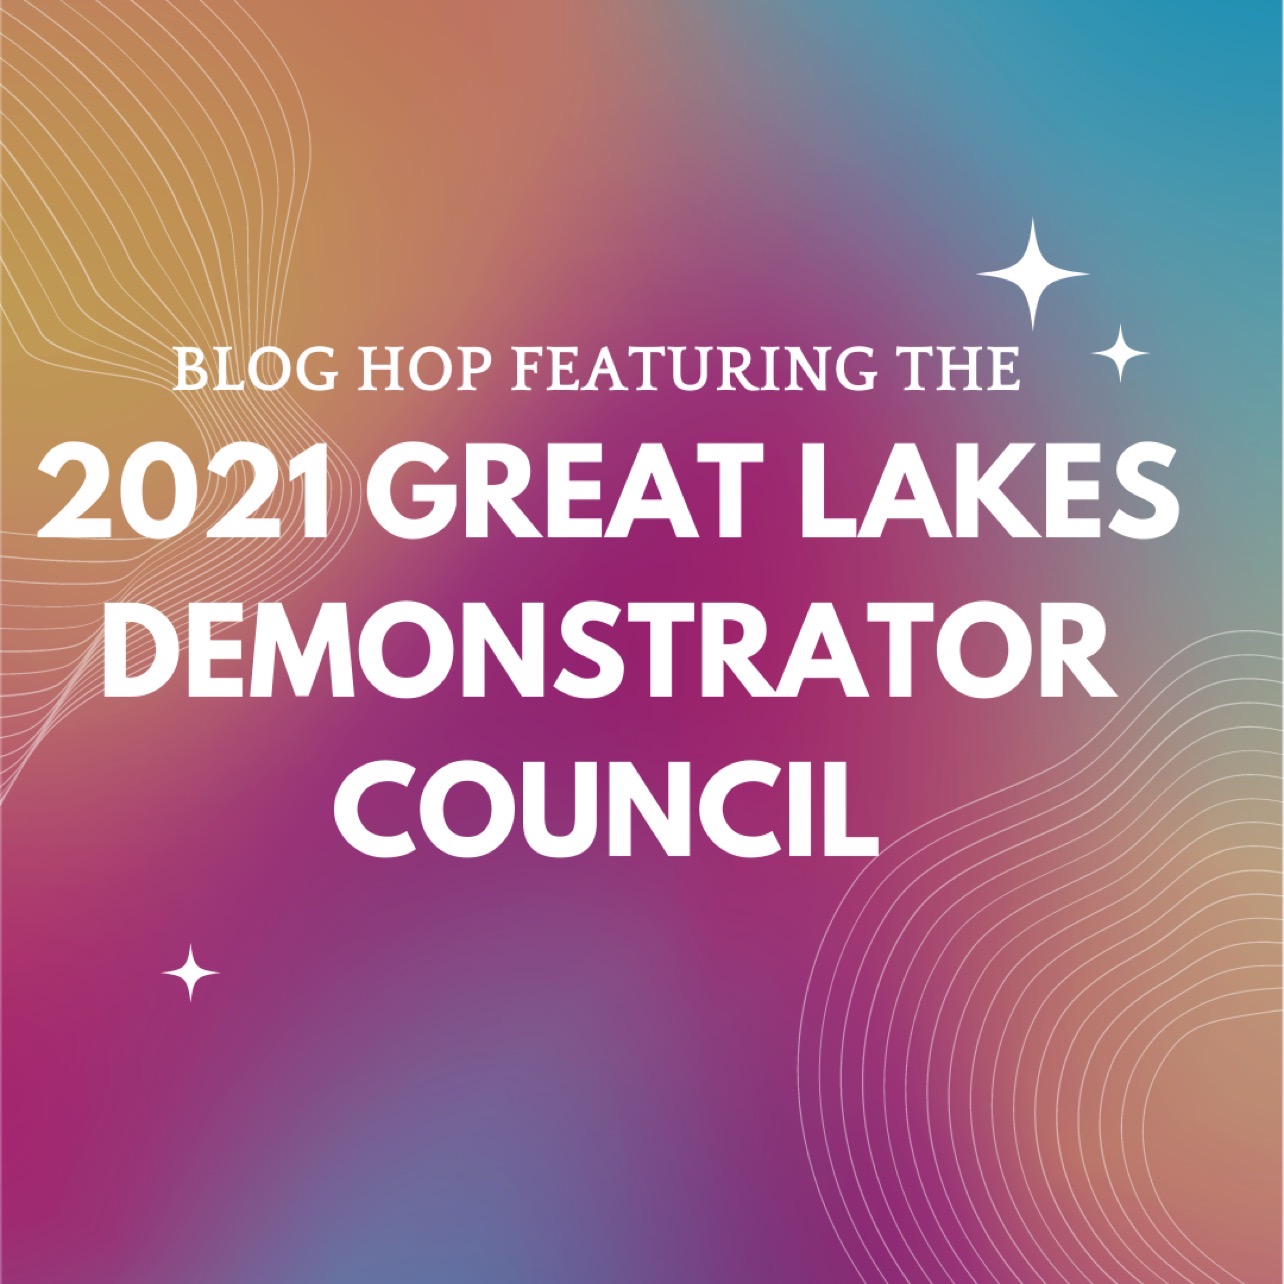
Thanks so much for stopping by my blog!  If you arrived here, then you very well may have been hopping along with the fabulous Great Lakes Demonstrator Council and I am the last stop in the hop.  Our group is led by the amazing Shannon West as our DDM!  My project is from the Tulip Fields Bundle.  It was a fun challenge to come up with an interesting design as that the stamp set does not have a sentiment.  My initial project is a cute fun fold that I used to create a scene, primarily using die cuts. 


The top panel flips up and reveals the stamped tree image bordered by the fence posts and rows of tulips.


Inside the card, the tulip fun continues.


Here’s another fun project with the Tulip Fields stamp set.  
You see, for this project, I wanted to do something a bit outside of the box.  
I used the baby wipe technique and a few colors of the Stampin’ Up! Re-inkers to create this card.
It was so fun using the stamp set in a different manner!
Be sure to have extra wipes on hand as that your fingers can get a bit inky!  


This fun “pouch card” was another project created using the Tulip Fields stamp set along with the Windmill Fields die set. This project is super fun and quick.  I used my blending brushes to create the “sky” and “grass” on Basic White cardstock as the base of my scene.  Then created the flap using a piece of designer series paper (dsp) and the bike die cut.  The windmill is featured on layered circles.


When the pouch card is opened, you can see I used the Border Dies to give it a featured “cloud” look to complement my scene theme.  


Here’s another look at the card.


At the Aldo grocery store, they had these amazing spiced cookies!
Wouldn’t you know it, they feature a nice windmill shape in the cookies.  


Using some tearing tape strips, I added the cookies to my pouch card.
My recipient will have a nice, delicious treat as a result.

I appreciate that you took time to view my projects.  To learn more about the materials used for this project, please visit project link here https://s.tamp.in/iQXGTR  

It has been my absolute pleasure serving on the Council with an amazing group of ladies that I affectionately coined “The Cool Kids.”  From the kit projects and our FB training program, it’s been an amazing year together. 

Thank you for hopping along with the 2021 Great Lakes Demonstrator Council.  

  • 2021GreatLakesDemonstratorCouncilBlogHopScrapping Stamping And Stuff-Anna Helman
  • 2021GreatLakesDemonstratorCouncilBlogHopEMK Creations-Emily Kimmey
  • 2021GreatLakesDemonstratorCouncilBlogHopStampin Round The Clock-Jena Carr
  • 2021GreatLakesDemonstratorCouncilBlogHopCraft Lounge Creations - Nedine Hunter DuPree
  • 2021GreatLakesDemonstratorCouncilBlogHop
  • Saturday, September 25, 2021

    Fancy Fold Swap Card Fun!

     Hey there!!  

    How are you?  I’m so glad that you stopped by my little blog for my latest project.  I had so much fun creating this card for the Creative Convention swap event.

    My friend, Penny, originally taught me this card layout over Zoom.  I don’t really know the official name of this fold, so I call it the “Penny fold” to honor her.  She’s one of THE NICEST persons that I ever met!


    I love this card as that it flaps open for multiple surprises!  It definitely has some surprises incorporated into it.  The double folds gives it a nice dimension and weight.  I did not mail my cards, but I’m guessing that extra postage would be needed.


    My project incorporates Heart Warming Hugs DSP that nicely embraces all of the traditional Christmas colors oh-so-nicely on top of the Soft Suede base. 

    To create the double folds, you would start by cutting your cardstock using the following dimensions:

    5.5 x 7 inches, score at 4.25 inches

    5.5 x 4 inches, score at 1.25 inches

    Using your liquid glue, adhere the two sides together.

    My DSP strips are measured at  1 inch by 5.25, 2.5 inches by 5.25 and 1 inches by 5.25,  Then there is a hidden panel where I placed Basic White cardstock and this piece measures 2.5 inches by 5.5 inches.

    On each flap, I incorporated three die cuts from the Stitched So Sweetly bundle on each flap (yes, that's 6 die cuts per card!! Crazy, right?)  and included a sentiment on the smallest layer.

    Voila!  You are done!  I sure hope my swap partners enjoy this card.  I hope you will join my FB page group page, Craft Lounge Creations and share your project if you try to give my “Penny” Fun FOld card a try!

    All the best!

    Nedine


    Saturday, September 18, 2021

    Stamping with Friends Blog Hop: Coloring


    Thanks for stopping by the Craft Lounge!  I appreciate you stopping by my blog.  

     I am happy to be joining the Stamping With Friends Blog Hop for the first time and seeing all of the wonderful projects focused on Coloring!  WOW!  There are just so many options to consider when presented with this topic and appreciate the invitation from Linda Moore of Moore Fun Stamping for the invitation to participate in the hop.  If you are following along in the blog hop, then you just saw Karen's gorgeous project from the Beautifully Penned set.  

    I choose a project that features double embossing which I then colored with ink and water painters.  I started out with a piece of Basic White cardstock.  It was first embossed with the Scripty Embossing Folder and then embossed for the second time with the Pretty Flowers embossing folder.  The card pictured below is my second attempt with this technique.  The ink color was applied directly from the Stampin' Up! ink pads using an water painter. I think this gorgeous card speaks for itself and is finished by sentiment using the double oval punch.  

    Images ©2021 Stampin’ Up!

    I also tried the same two embossing folders on the card pictured below.  This time, colored pencils were used to enhance the flowers.  I did not yet add the sentiment as that I was wanting for an occasion to send this card so I will finish it at that time.  The subtleness of the pencil coloring lends itself well, to a thinking of you card or possibly a sympathy card.  I'll know when the occasion arises.  I like to create ahead so I have cards at my disposal and ready to mail. 

    Images ©2021 Stampin’ Up!

    One of the fun things about this blog hop is that everyone is so talented and we literally span the globe.  The next featured blog is Vickie's from Vickie Lou's Designs in the UK.  Her project is also super cute featuring a cute mermaid.  Please hop on over to Vickie's blog and check out her project!


    Coloring Blog Hop Roll Call


    If you would like to learn more about the products used in this project, please click here to learn more.  

    If you live in the United States and don’t have a demonstrator, contact me and I be happy to help you with your crafting needs.   Did you hear?  This is the best time of year to be a Stampin' Up! customer and Demonstrator because until September 30th, we are enjoying the Sale-A-Bration event.  What is SAB you may ask?  Well, for every $50 you spend, you'll receive a free gift.  If you would like to join my Craft Lounge Creators team, you'll receive a free stamp set bundle!

    • My name is Nedine Hunter-DuPree, the lead creator for Craft Lounge Creations.  Feel free to ask to join my Facebook group community, at Craft Lounge Creations
    • I am an independent demonstrator with Stampin' Up!
    • All of the wonderful projects you see on my site are uniquely my own content and are my sole responsibility.  While many of my projects use Stampin’ Up! products, Stampin' Up! does not endorse the Craft Lounge website.

    Sunday, September 5, 2021

    Having fun with alcohol blends

    Hi there!
    I am glad to be participating in the Stamping With Friends Blog Hop!  

    If you arrived here from XYZ's blog, then you are in the right place.

    Today, I decided to try a new-to-me inking technique using alcohol blend markers.  You are probably like me and have been seeing the inking technique using blend markers on vellum and applying alcohol.  

    Images ©2021 Stampin’ Up!


    I love the pop of colors and the elegance added by the gold leafing flakes.
    This card was fun to make as I learned a new inking technique.
    It combined lots of products that I already had on hand.
    I absolutely love using my stash!

    Images ©2021 Stampin’ Up!

    Here's the steps I took to make this card:
    A2 card base using Night of Navy, score at 5.5"
    Cut Basic White panel, 4" x 5.25"
    Cut Daffodil Delight panel, 3.75" x 5" and emboss with Textured Textile EF
    Using Polished Pink, punch a flower from the large Daisy Punch
    Stamp a flower using Polished Pink ink on Polished Pink cardstock, heat emboss with clear embossing powder
    Add white twine to flower center
    Using Granny Apple Green, punch a banner with the Triple Banner punch
    Emboss with Painted Texture EF
    Randomly color vellum with Blends Markers
    Spritz vellum with rubbing alcohol
    Use sponge dauber and dot alcohol for added interest 
    Cut vellum into panels
    Using white multi-purpose Tombow glue, add gold leafing
    Layer vellum layer on card panel
    Add flower embellishment

    Here's a product ingredient list below:
    Thanks for stopping by the Craft Lounge!

    • My name is Nedine Hunter-DuPree, the lead creator for Craft Lounge Creations.
    • I am an independent demonstrator within Stampin' Up!
    • All of the wonderful projects you see on my site are uniquely my own content and are my sole responsibility.  While many of my projects use Stampin’ Up! products, Stampin' Up! does not endorse the Craft Lounge website.

    Sunday, August 29, 2021

    Journey to Silver Elite - Holiday Mini Feature Project


    Hey Everyone!

    Imagine me standing here with a big grin on my face and waving to you!  
    I am so happy and honored that you have chosen our little blog hop to visit as it is our last time hopping together!  I may be telling my age when I say “Hello this is Julie, and I am your cruise director”.  (Throwback to the show called Love Boat).  LOL

    The focus of this blog hop is to feature products from the new 2021 Holiday Mini Catalog!  The ladies all did a fantastic job on their projects.  So if you have arrived from Kelly’s blog, then you are in the right place and please continue onto Tracy’s blog for more great fun.  This is one talented group, I tell you!

    I am not going to keep you here long - let me tell you about my project.  
    I am excited to feature the Welcoming Woods stamp set.  I’ve  been waiting to use this yet for the longest.  I think it is just so pretty!  My project is an easel card to showcase the front panel.  The embellishment for the front of the card was created from the absolutely wonderful Gorgeous Leaves Bundle.  The Gold 3/8” Shimmer Ribbon was released in the Holiday Mini as well and I used it to help anchor the sentiment.  Be Dazzling Specialty Paper is a free Sale-A-Bration item which provides the background for the leaf on my panel to serve as the door-stop for the easel base.

    I’ve been on an absolute roll creating my own DSP.   I teamed it up with our blender brushes to create a background effect of the sun setting.  My friend, Charmaine, introduced me to this technique and I’m so glad that she did!  I fell in love!  The colors I used for the sunset are Flirty Flamingo, Pumpkin Pie, Gorgeous Grape, Soft Sky, and Daffodil Delight.  The focal point of the trees is in Early Espresso.  


    Creating this project was so enjoyable!  I hope you found it to be the same and I encourage you to try out the ink blending technique if you haven’t already done so.  You’ll be hooked like I was!  An easel card is just another fun fold card using a standard A2 card base that helps display a great panel. My card base is using Soft Sky Card Stock that is retired but was perfect for this project.  The In Good Taste Designer Series Paper provides the perfect background for my panel.

    It is an honor to have you visit my blog and I hope you continue the blog hop journey by visiting Tracy’s blog.


    Blog Hop Creator

    Their Fabulous Blog Entry

    Eva Dietz

    Eva's Blog

    Amanda Howard

    Amanda's Blog

    Kelly Taranto

    Kelly's Blog

    Nedine DuPree

    Nedine's Blog  💜

    Tracy Byers

    Tracy's Blog

    Nancy Reynolds

    Nancy's Blog

    Sue Kremer

    Sue's Blog

    Julia Quinn

    Julia's Blog

    Tricia Butts

    Tricia's Blog

    Xenia Stanford

    Xenia's Blog

    Terry Montgomery

    Terry's Blog

    Janice Piechowiak

    Janice's Blog


    If you do not already have a Stampin' Up! Demonstrator, I would be honored to have you as a valued customer.  This is an excellent time to go shopping or even think to become a Demonstrator yourself.  I will never ask you to sell any products, hold any classes or log anywhere (unless you want to)! I just figure you are like me and like an excellent deal!  We are in the middle of Sale-A- Bration currently where you spend increments of $50 and receive free items, like the Be Dazzling Specialty paper featured in my project.  Or, for even a better deal, you can join my Craft Lounge Creators team as a Demonstrator and walk away with a free stamp bundle.   Yes!  I said a B.U.N.D.L.E. that would be included in our customized starter kit.  All for the price of $99.  Who wouldn't love to double their investment basically instantly!  
    I individually listed the projects below, but also created a super easy shopping list if you're interested in the project materials!  

    Products I Used

    Stamp Sets / Bundles


    Inks / Tools


    Papers / DSP


    Friday, July 30, 2021

    Silver to Silver Elite Blog Hop: Fun Fold


    Well, hello there!  
    Thanks so much for stopping by my blog!  I appreciate you being here!  
    My name is Nedine Hunter-DuPree.  I am an independent Stampin' Up! Demonstrator here in the U.S.  I also serving on the Great Lakes Demonstrator council which is a wonderful group of talented folks, hand-elected by Stampin' Up to represent our Demonstrator peers.  It is such an honor to serve in this wonderful capacity!

    If you've been following along on the Silver to Silver Elite Blog Hop, then you've arrived from my friend, Linda's blog.  Wasn't her project absolutely fabulous?!?!  I love Linda's creativity AND her choice in sports teams - we are both Steelers Fans!  It's a win-win all around!  LOL

    The Silver to Silver Elite Blog Hop is a group of wonderful Stampin' Up Demonstrators that I had a chance to virtually meet this year.  It's been fun to coordinate this blog hop for this group.  This is our 2nd go out of it and will have one more hop together.  Our project for this hop was to create a Fun Fold project.  

    I couldn't decide which Fun Fold I wanted to show you so I actually created two projects!  The first project was featured as my Mystery Stamping project on my Facebook group page, Craft Lounge Creations.  We are always having so much fun over in the Lounge, I hope you will consider joining me there!

    My first project is a Fun Fold Card that I created for a swap and is also the one that I used in my Mystery Card Stamping night.  My project is fun for so many reasons!  First, it features the new In Symmetry bundle that is a-m-a-z-i-n-g!  And, that DSP is currently on sale right now, so what's not to love?!?!


    I don't know the proper name for this card, but I call it a dual flap card.   I first learned how to do this card from my friend, Chris, who is an amazing paper artist.  It's been a fan favorite since and the group of ladies in the Lounge last week really seemed to love the project.  

    Here's a look at the inside.


    Here's the 5 clues that I posted in my Craft Lounge in case you are interested in making this project for yourself.


    #CraftLoungeCreates

    I saw my next project featured on the Demonstrator Planning Place and it made me remember that I first saw this fun fold technique on May May's site awhile ago.  I was headed to a grad party the very next day that I saw this super cute card and I couldn't resist making one myself!


    Images ©2021 Stampin’ Up!
    I combined lots of fun elements to create this card!
    I'll definitely point you to May May Made it for the original specifications!


    I am so thankful that you choose to stop by my blog.  It's been my honor in organizing this hop and I'm absolutely amazed by the level of creative prowness that you'll see here!  If you love Stampin' Up! products and do not yet have a Demonstrator, it would be my privilege to be your Demonstrator!  I totally love the color coordination of Stampin' Up! products. We are headed into the best time of a Stampin' Up! year with the upcoming Sale-A-Bration joining specials, so if you love crafting and love a good deal, then we should most definitely have a conversation!


    Janice PiechowiakCreating Treasures with Janice
    Linda MooreMoore Fun Stamping
    Nedine Hunter DuPreeCraft Lounge Creations
    Libby Fenslibbystamps
    Kelly TarantoThe Late Night Stamper
    Karen EganCrafty Karen Designs
    Tricia ButtsTricia's Stamping Creations
    Eva DietzHomemade with Heart - Stampin’ with Eva
    Diane MarieCreative Stamping
    Cathy RoccaFrom the Stamp Studio
    Sue KremerNorthStarStamper
    Tracy ByersCards, Crafts and Stamps with Tracy
    Laurie BradshawCraft Coach Laurie
    Nancy ReynoldsStampin' With Nutsy


    • My name is Nedine Hunter-DuPree, the lead creator for Craft Lounge Creations.
    • I am an independent demonstrator with Stampin' Up!
    • All of the wonderful projects you see on my site are uniquely my own content and are my sole responsibility.  While many of my projects use Stampin’ Up! products, Stampin' Up! does not endorse the Craft Lounge website.